Workflow Abandoned Cart Template
If a lead abandons their cart and does not make a purchase, you may want to set up a Workflow to automate some actions, from a follow-up email to a reminder call or anything else that makes sense for your particular use case. Follow these steps to create and use Workflows for an Abandoned Cart sequence
Part 1: Setting Up the Workflow to Detect and Follow Up with an Abandoned Cart
Step 1: Setting up the First Workflow Trigger
- Navigate to Workflows and Create a New Workflow
- Select “Order Form Submission” as your Workflow trigger
- Select your funnel/website and set your submission type as “Optin” for filters.
- NOTE: if you don’t specify a funnel/website, the trigger action will apply to all Order Form Submissions.

- Save the trigger to add it to your Workflow.
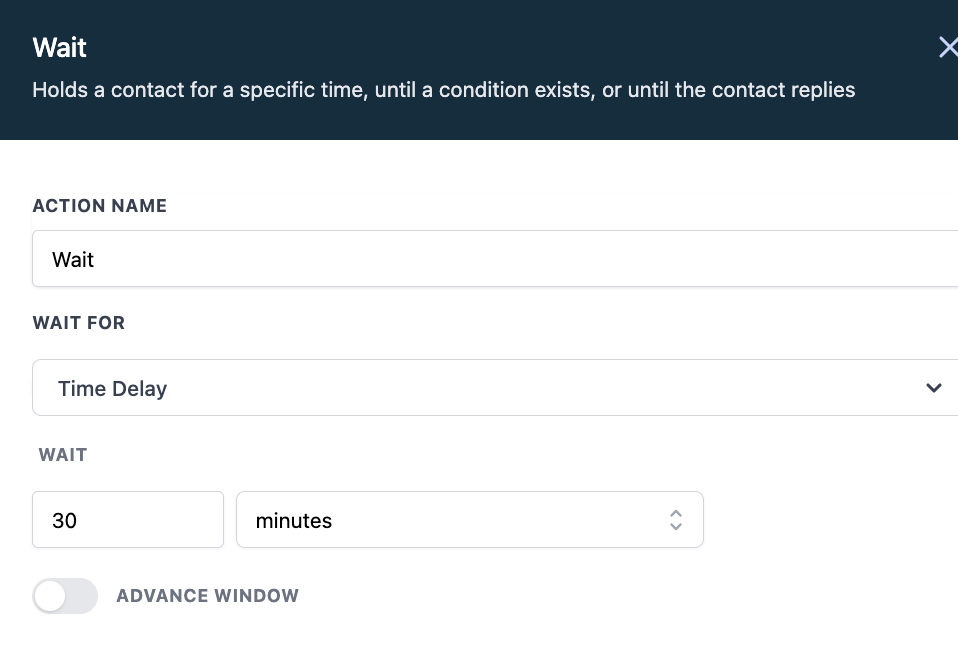
Step 2: Setting Up a Wait Step
- Please set up a wait step to allow users some time to purchase, stating that they abandoned their cart.
- Select “Add your first action,” then scroll down under “Conditions and Workflows” and select “Wait.”
- Please select how long it would take before the cart is abandoned and click save.
- Save the action.
Step 3: Setting Up an Abandoned Cart Contact Tag
- Add another Step and select “Add contact Tag.”
- Type in “Abandoned Cart” to add a tag that signifies that the user abandoned their cart, and click save to add this action.

Step 4: Add a method to follow up.
- Select Add to add action, and choose from the list what should be automated.

- Add a follow-up email or SMS to the contact, schedule a manual call, or create an internal notification.
Part 2: Create a Second Workflow to Remove Abandoned Cart Labels When A Purchase Is Made
Step 1: Create a Second Workflow
- Select “Order Form Submission” as your Workflow trigger
- Set your filters to select your website/funnel and your submission type as “Sale”.
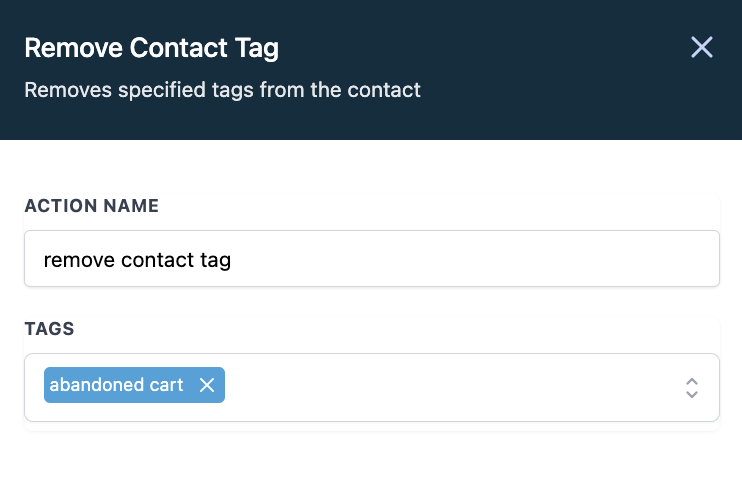
Step 2: Remove the abandoned tag filter and remove it from the first Workflow.
- Add another Step.
- Select “Remove Contact Tag” and Choose the “abandoned cart” tag you created in Part 1.
- Add another step. Select “Remove from Workflow”.
- Select“Another Workflow”.
- Select the name of the first Workflow you created in Part 1.
- Save your changes to the action.
- Save and publish the Workflow.