How To Upload Images and Use the Media Library
Your Media Library allows you to store image files for use across NicheFit. You can upload images from your devices, add images from Pixabay and Unsplash (free image providers), and organize/categorize them into folders. By saving images in your Media Library, you can regularly access and utilize the same images or logos repeatedly without re-uploading them.
Step 1: Accessing the Media Library
- Navigate to Settings to access your Media Library.
- You can also access your media library from the funnel builder, website builder, or email builder.
Step 2: Navigating the Media Library
- Within the Media library, you can sort through files and folders.
- You can upload images and create new folders using the buttons in the top right corner.
- You can search at the top for images you’ve uploaded and add images from Unsplash or Pixabay.

- To Select an Image, click on the image, and a blue box will appear around it, indicating it’s been selected.

- If you right-click an image, a dropdown menu will appear with choices: get a link, move to a folder, rename, or delete.

Step 3: Using Images in the Funnel or Website Builder
- Navigate to Funnels or Websites
- Choose a Funnel and Edit a Funnel Step (or Websites and choose a page).
- Add an Image element to the funnel page using the drag-and-drop features.
- Click on the “Image Library” Icon.
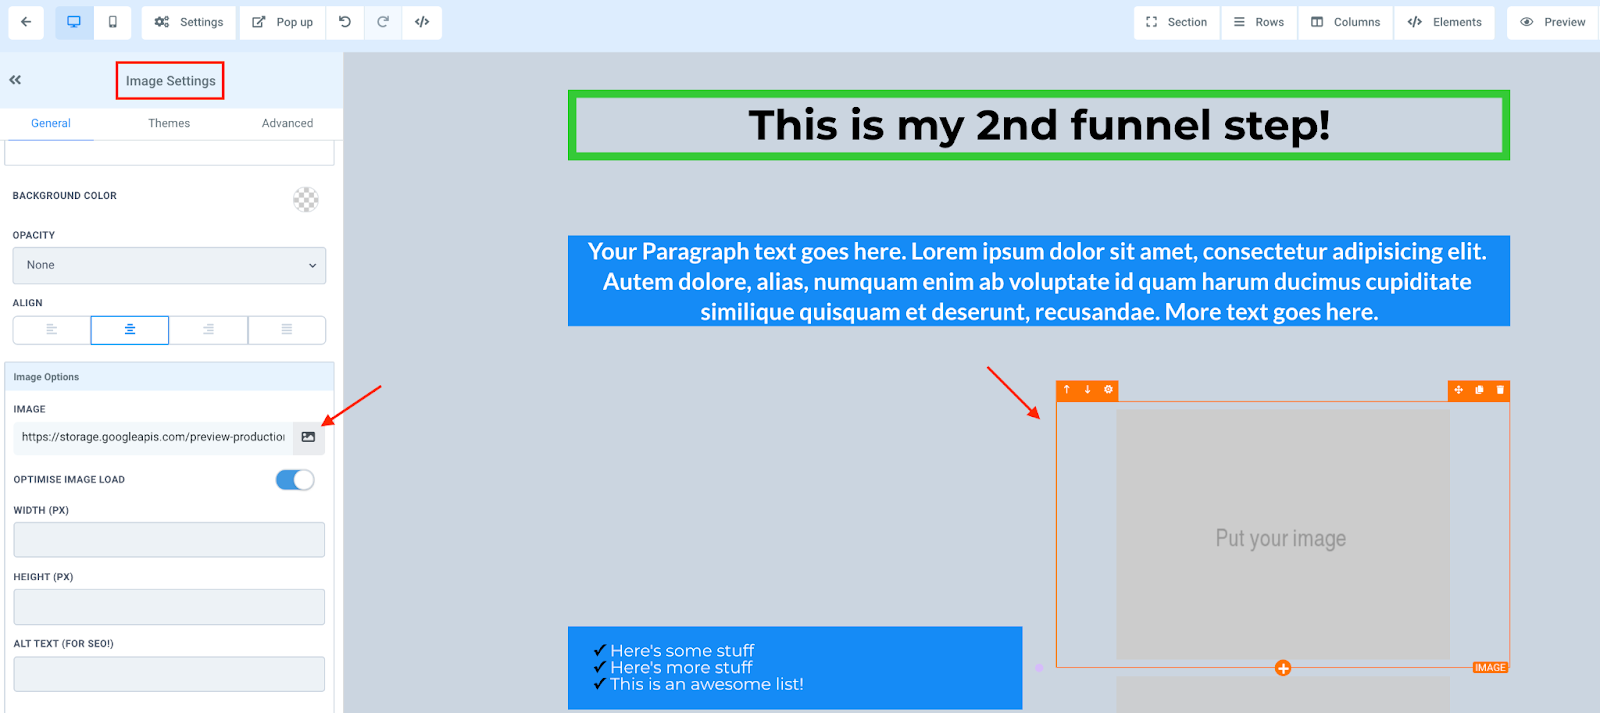
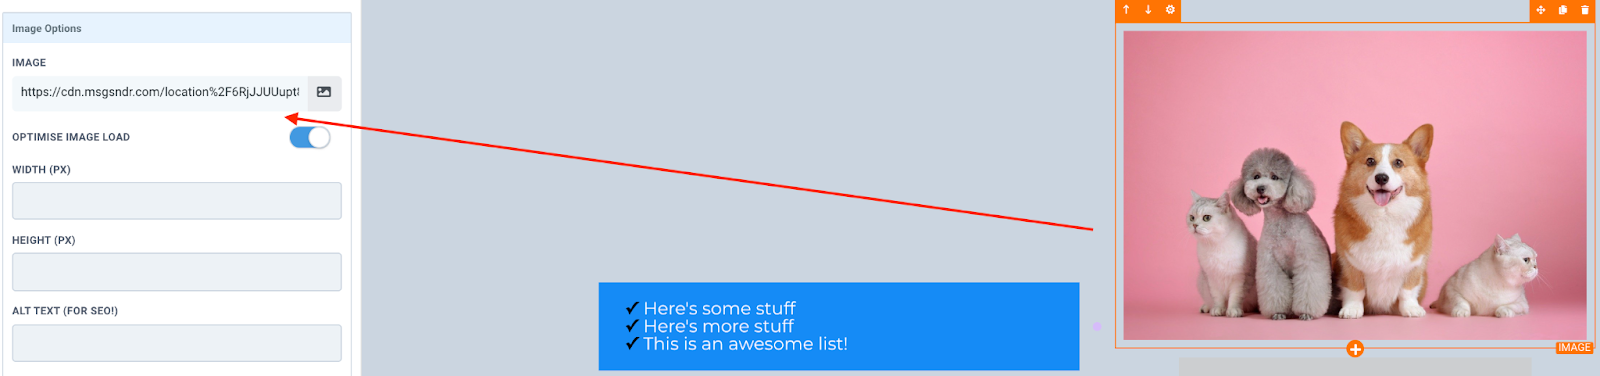
- Choose or Upload an Image from your Media Library.
- Save your changes to the Funnel/Website page.
NOTE: Add the image to your funnel to get the URL hosted by the image. Select the image, and copy the URL under Image in the Element Settings.
Step 4: Using Images in the Email Builder
- Navigate to the Email Builder
- Choose the email template you wish to edit.
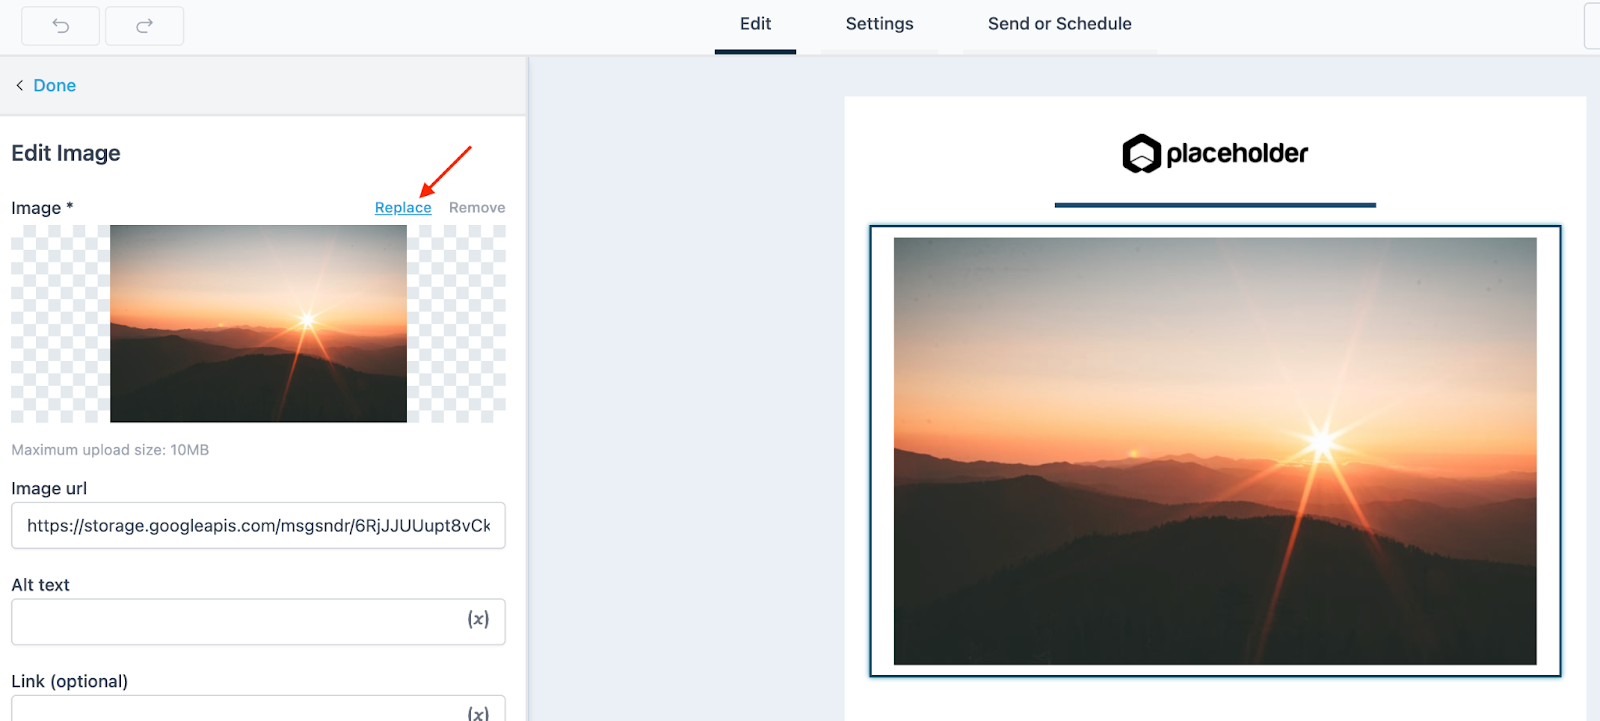
- Add an Image element using the drag-and-drop features.
- Using the menu on the left-hand side, you can “replace” an image or the placeholder and access the Media Library.
- Choose your image.
- Save any changes to your email template.
An image added to the Media Library from one part of NicheFit will be usable system-wide. If you add a new image to a funnel page and wish to use it later in the email builder, you can do so. It’s as simple as uploading images and using your Media Library.
Pro Tip: We recommend naming your images and using folders to stay organized and make searching for images easier. If you want to search for an image at a later time, it will be easier to find “Puppies,” “Coffee Mug,” or “Sunset” rather than “img123.jpg” as a title.) You can also use folders so that if you have several images and don’t want to rename them individually, consider putting all the “Logos” in one folder, “Nature scenes” in another, etc.