The Zoom Integration feature allows you to generate unique meeting links for appointments within the Group Calendar section of NicheFit. (Check out our calendar tutorials to learn more about setting up calendars.) If you are the only person in your company/organization, you can create a "Group" of 1 person for your group calendar. Follow these steps to learn how to Integrate your Zoom account.
NOTE: Only Round Robin, group, or team calendars work with the Zoom integration.
Step 1: Integrating Zoom
- Navigate to Settings > Profile.
- Scroll down to "Integrations" and click Connect next to Zoom.

- This will direct you to the Zoom sign-in page. Enter your Zoom credentials to log in.
- Once logged into Zoom, you'll see a NicheFit access request. Be sure the pre-approval is complete (if not, you can click to do so.)
- Then click Authorize to confirm the integration.
- Navigate back to Settings > Profile.
- Scroll down to "Integrations," and you'll see the blue "Connect" button is now red and says "Disconnect", confirming the integration was completed.
- It will also display your associated email address.
Step 2: Setting Up Zoom Links For Your Calendars
OPTION A: You can set User Availability to default to using dynamic Zoom links for all bookings.
- Under "User Availability," choose "Connect Zoom" and click "OK" in the Confirmation window that pops up.

This will set up NicheFit to use dynamic Zoom links for all calendar bookings.
OPTION B: Setting Up The Group Calendars Individually
- Navigate to Settings > Calendars.
- Create (or edit) a calendar for the Group your user is assigned to.
- In Part 1 of the Calendar Configuration "Team and Event Setup", choose the Zoom calendar from the dropdown for your user.

- Fill out the rest of the fields to create (or edit) the Group calendar.
- In Part 3, fill out the additional notes section to include the meeting link using the custom value {{appointment.meeting_location}}

- Click on Complete when finished with the calendar setup
Step 3: Testing the Calendar
- Book an appointment by navigating Calendars, double-clicking on space, or using the scheduling links.

Or

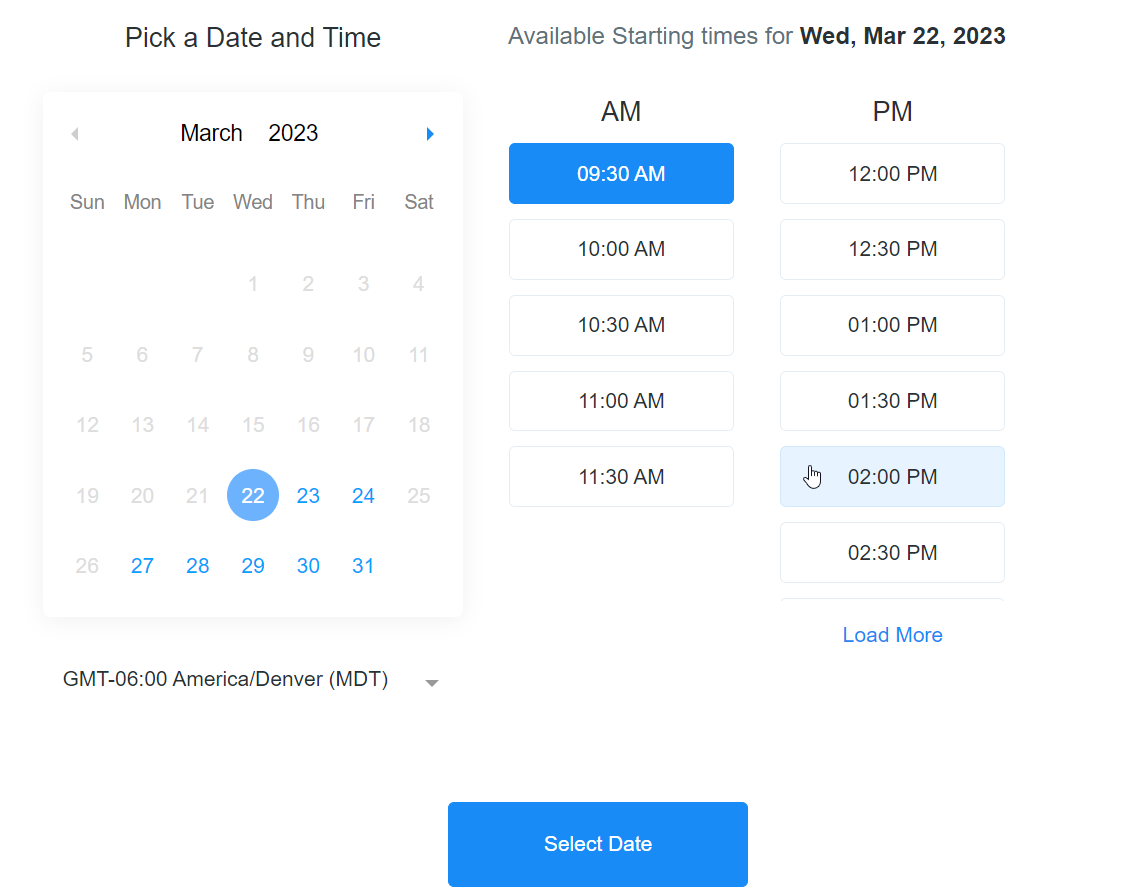
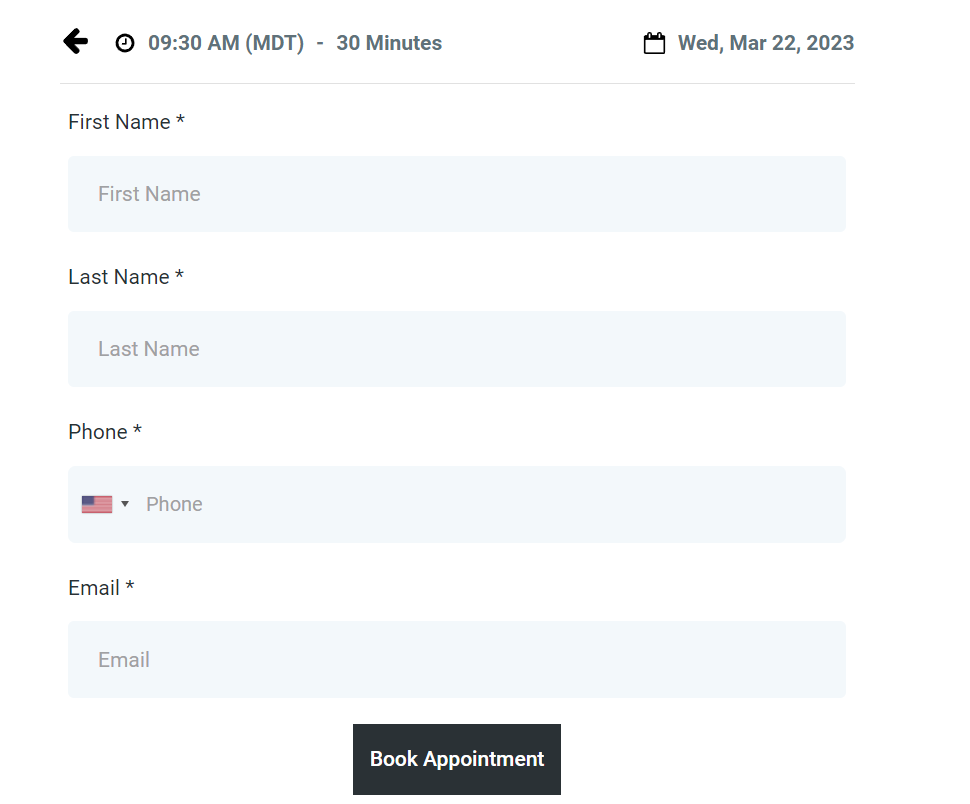
- Your meeting location will display when scheduled through the link.

- For manually created appointments
- Navigate to the Calendar view
- Filter to the appropriate calendar from the dropdown at the top by choosing the appropriate Group calendar where you’ve booked the appointment.
- Click on the test appointment you created. The "Meeting ID" will show your Zoom link.

NOTE: If using a Group calendar, you can see Zoom meetings scheduled within NicheFit displayed in your Zoom account. In your Zoom account, navigate to "Upcoming Meetings" and see them listed here.