Workflow Action: Add Contact Tag
Adding contact tags is crucial for the organization of smart lists and assists with tracking where a lead is within your process. You can also use Contact Changed, or Contact Tag triggers to automate other processes when adding tags. You may want to tag a lead based on many triggers or actions the customer takes, such as a purchase or pipeline change. This article will review how to use this action in a workflow.
- First, start by selecting the “+” button.

- This will pull up a list of new Actions you can select for the new step
- Scroll down until you see the CRM section; this is where you can select the “Add Contact Tag” button

- This will bring up a tab on the ride side where you can add specific tags to the contact.
- Please Note: if you have not created any contact tags yet, it won't display any under the TAGS dropdown.
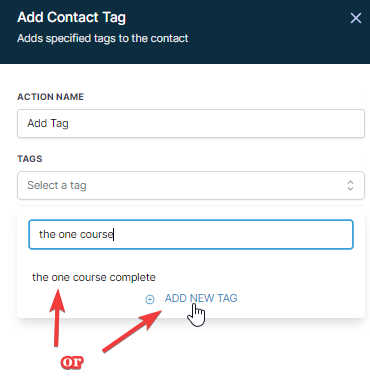
- This is where you can create custom Contact Tags (See below)

- To create a custom “Contact Tag,” type out the word you want to add to a contact in the “TAGS” section.
- For Example: If the customer is a subscriber, I will type “Subscriber.”
- Next, select the blue “ADD NEW TAG” button to create the new contact tag (see below)

- Once completed, it will look like this (you can add multiple tags if needed)

- To stay extra organized, it’s recommended to type the name of the new contact tag you created in the “ACTION NAME” section.
- This will allow you to see what exactly the contact tag is without having to go into the workflow step (see below)


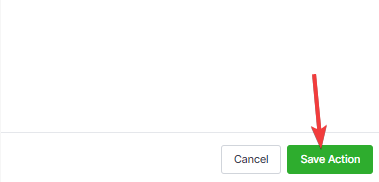
- Please make sure you click the “Save Action” button before you close or move on to another step/action
In the workflow example below, we have multiple triggers and an if/else action to branch from depending on which trigger the contact activated. Then we add a tag based on how the lead entered the workflow. For more information, search for the If/Else Action in the help library.
- Add the workflow triggers and filters as needed for your use case

- Click on the “+” symbol, search for “add” and select Add Contact Tag

- Type in the tag that you want to use to select an existing tag or add a new one.
Note: Tags are not case-sensitive and will convert to lowercase
- After selecting or adding a tag, it will look like the screenshot below

- Save the action, publish the workflow when completed, and save the workflow!