In this article, we’ll explore the assessments feature in your Membership portal. Assessments can be a great way to check the progress of your members’ learning as they work through your course. Follow along to learn how to create and manage Membership Assessments.
Step 1: Choose the Product
- Navigate to Sites > Memberships > Products to create an assessment for your Members. (You will need a product already created to add an assessment).
- Select the Product you would like to add an assessment to.
- Click the plus sign next to the Section's Title and Select “Add Assessment”.

Step 2: Create an Assessment

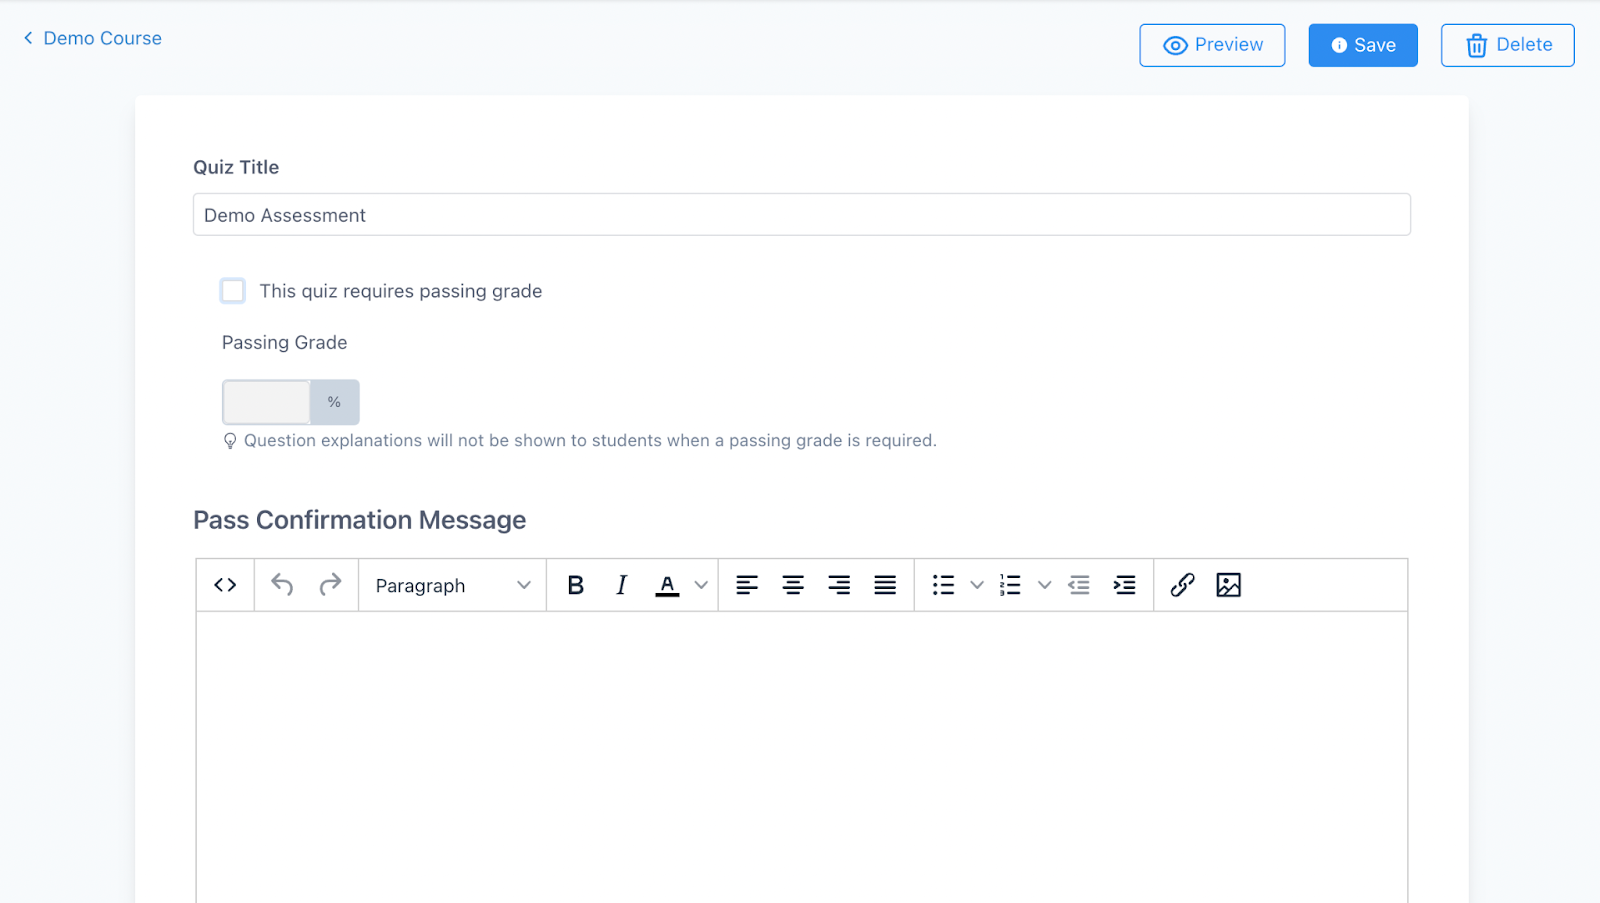
- Add to the Assessment a Title, and click Save.
- Choose a passing grade and message to confirm a passing grade.
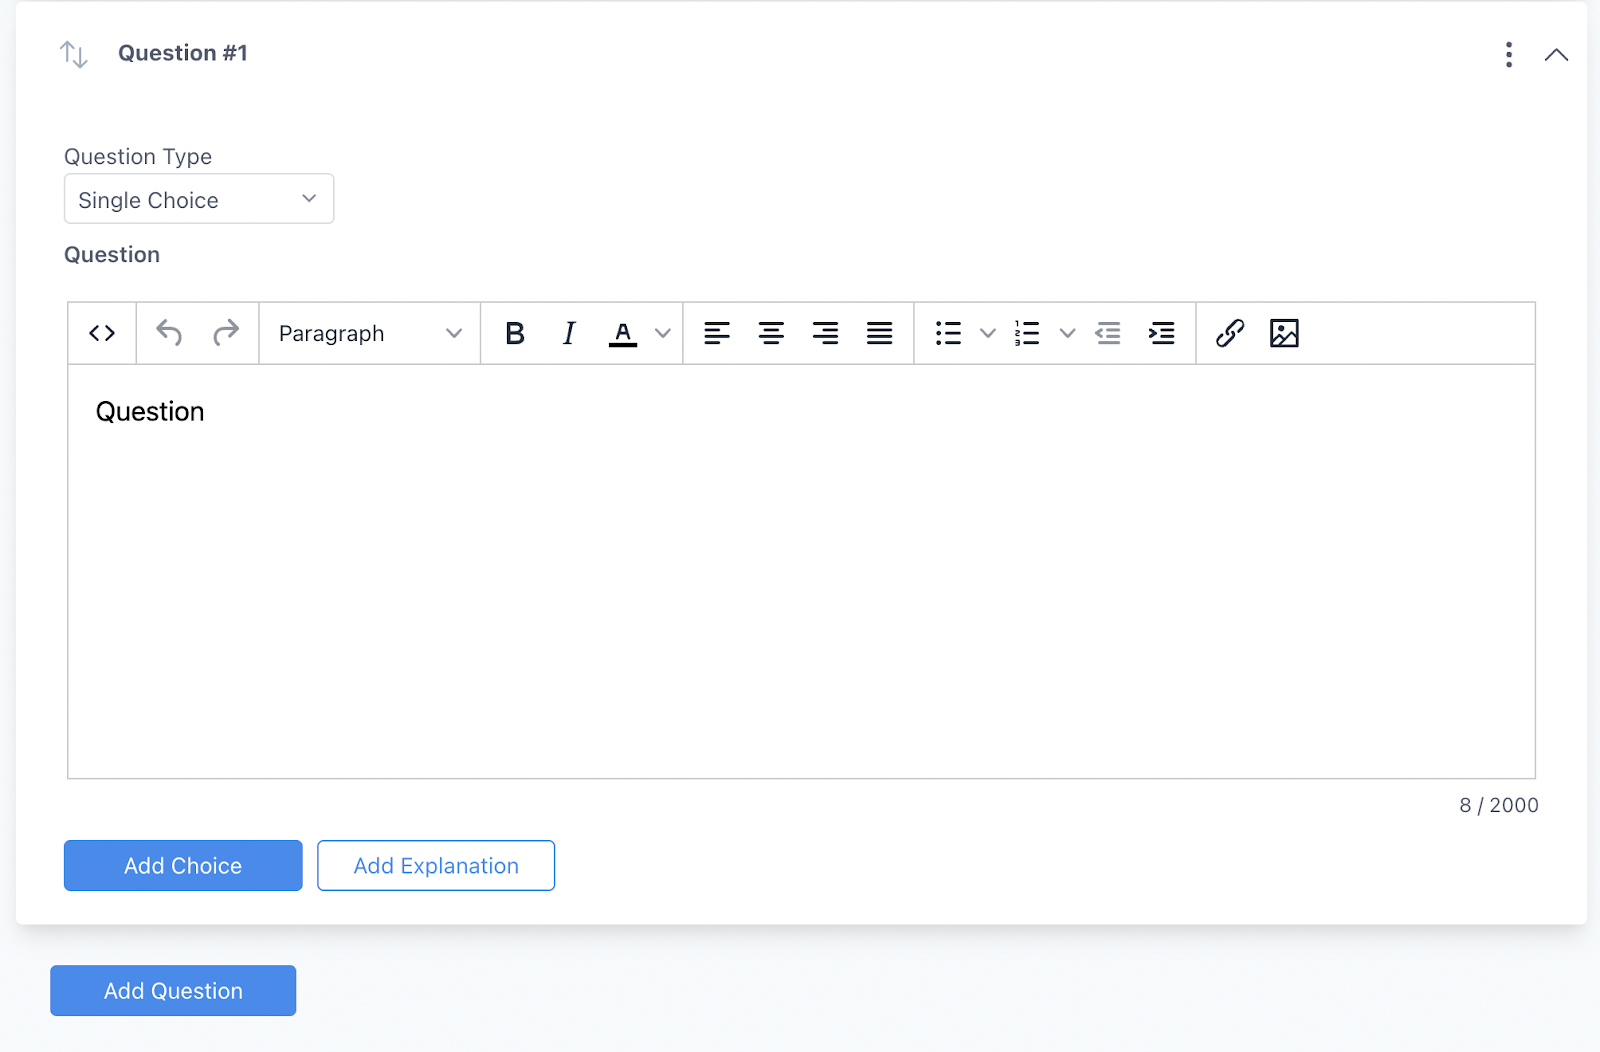
- After this, you can begin adding questions to the assessment.
- Choose Single Choice or Multiple Choice: For Single Choice, you can only select one correct answer; for multiple choice, there can be multiple correct answers.
- Write out your question and then Select ‘Add Choice’.
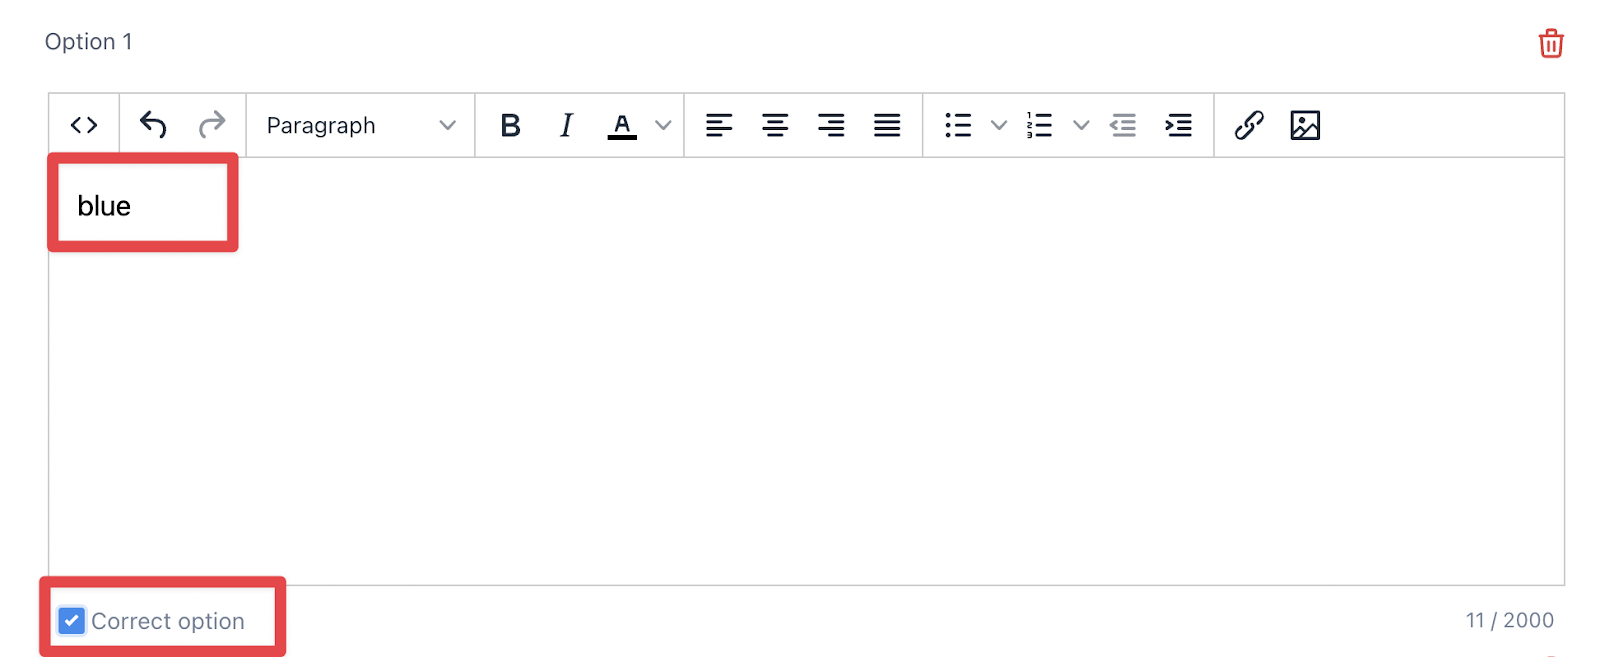
- Add as many answer choices as you would like and mark the correct answer(s) with a checkmark in the “Correct Option” box underneath the answer.
- Continue to add questions until you have completed your assessment.
- Click Save to finalize your changes.
Step 3: Publish the Assessment to Make it Live
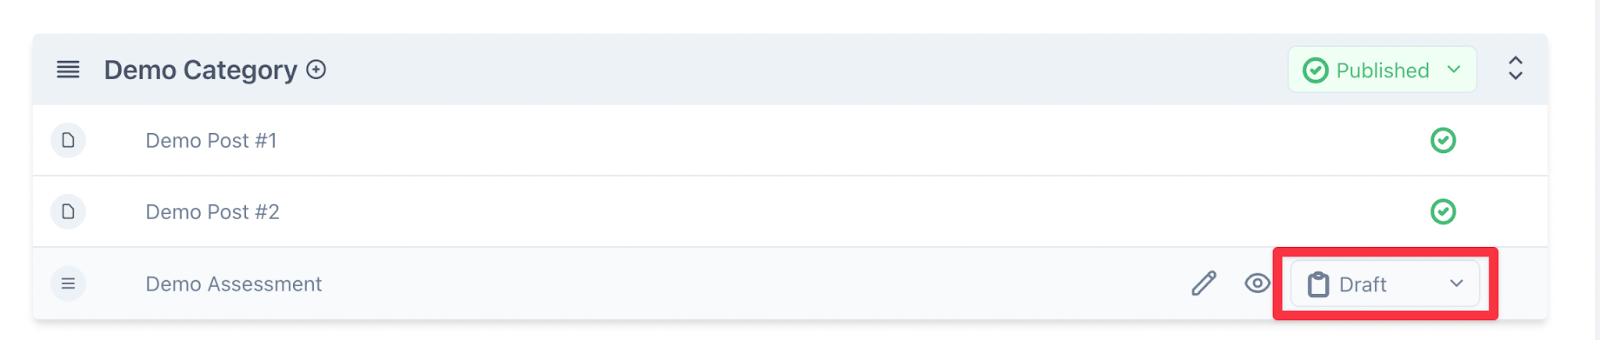
- After Saving, go back to the Product editing area.
- On the dropdown menu of your assessment, select ‘Publish’ when you are ready for the quiz to be live.
Return and make any necessary changes or edits or create additional assessments for your Membership portal. You can customize this as you need for your business!