Wordpress Plugin for Chat Widget
If you’re using WordPress, check out these simple steps to download and use the WordPress plugin for your chat widget:
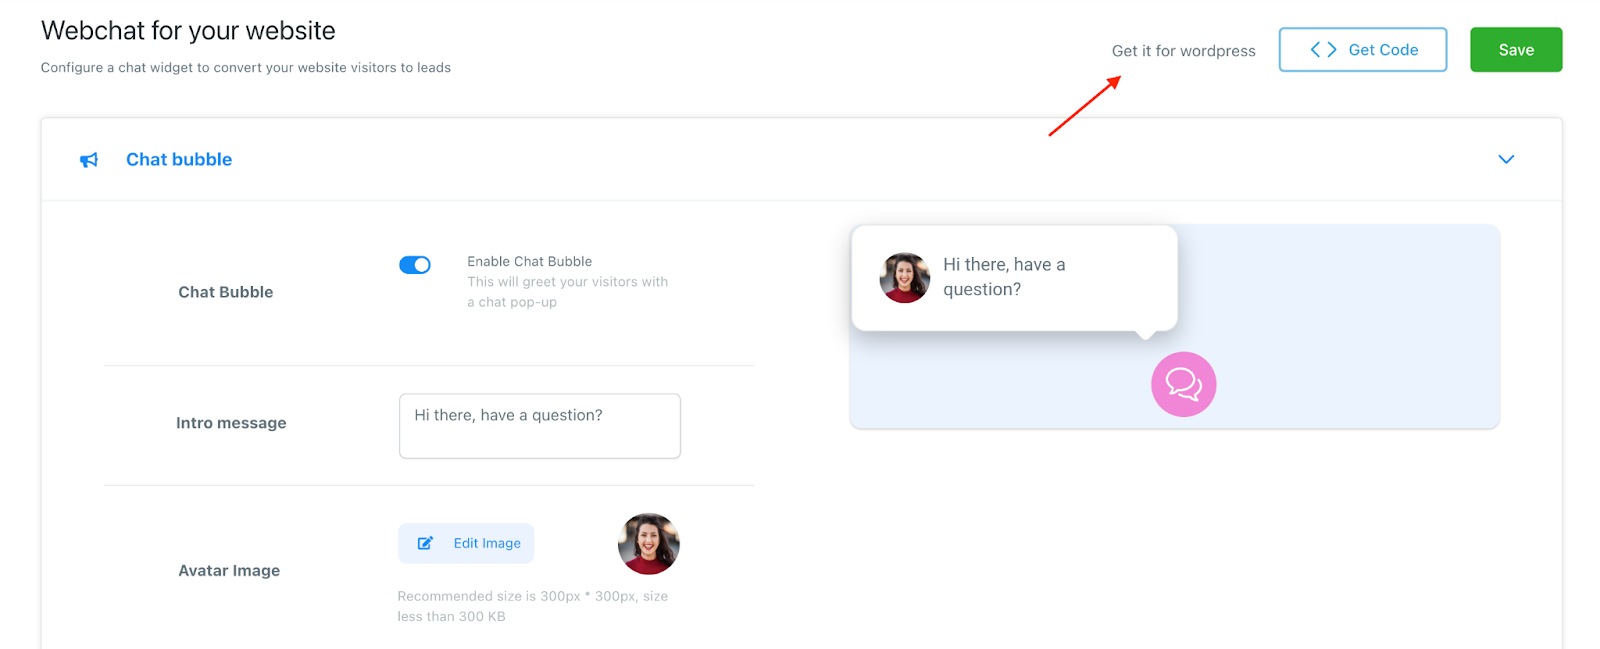
Step 1: Set up your Webchat widget
- Navigate to Sites > Chat Widget
- Create your chat widget and customize any features you wish.
NOTE: Check out our separate tutorials on the Chat Widget for a full customization overview.
Step 2: Download and Install the WordPress Plugin
- Click “Get it for WordPress.”
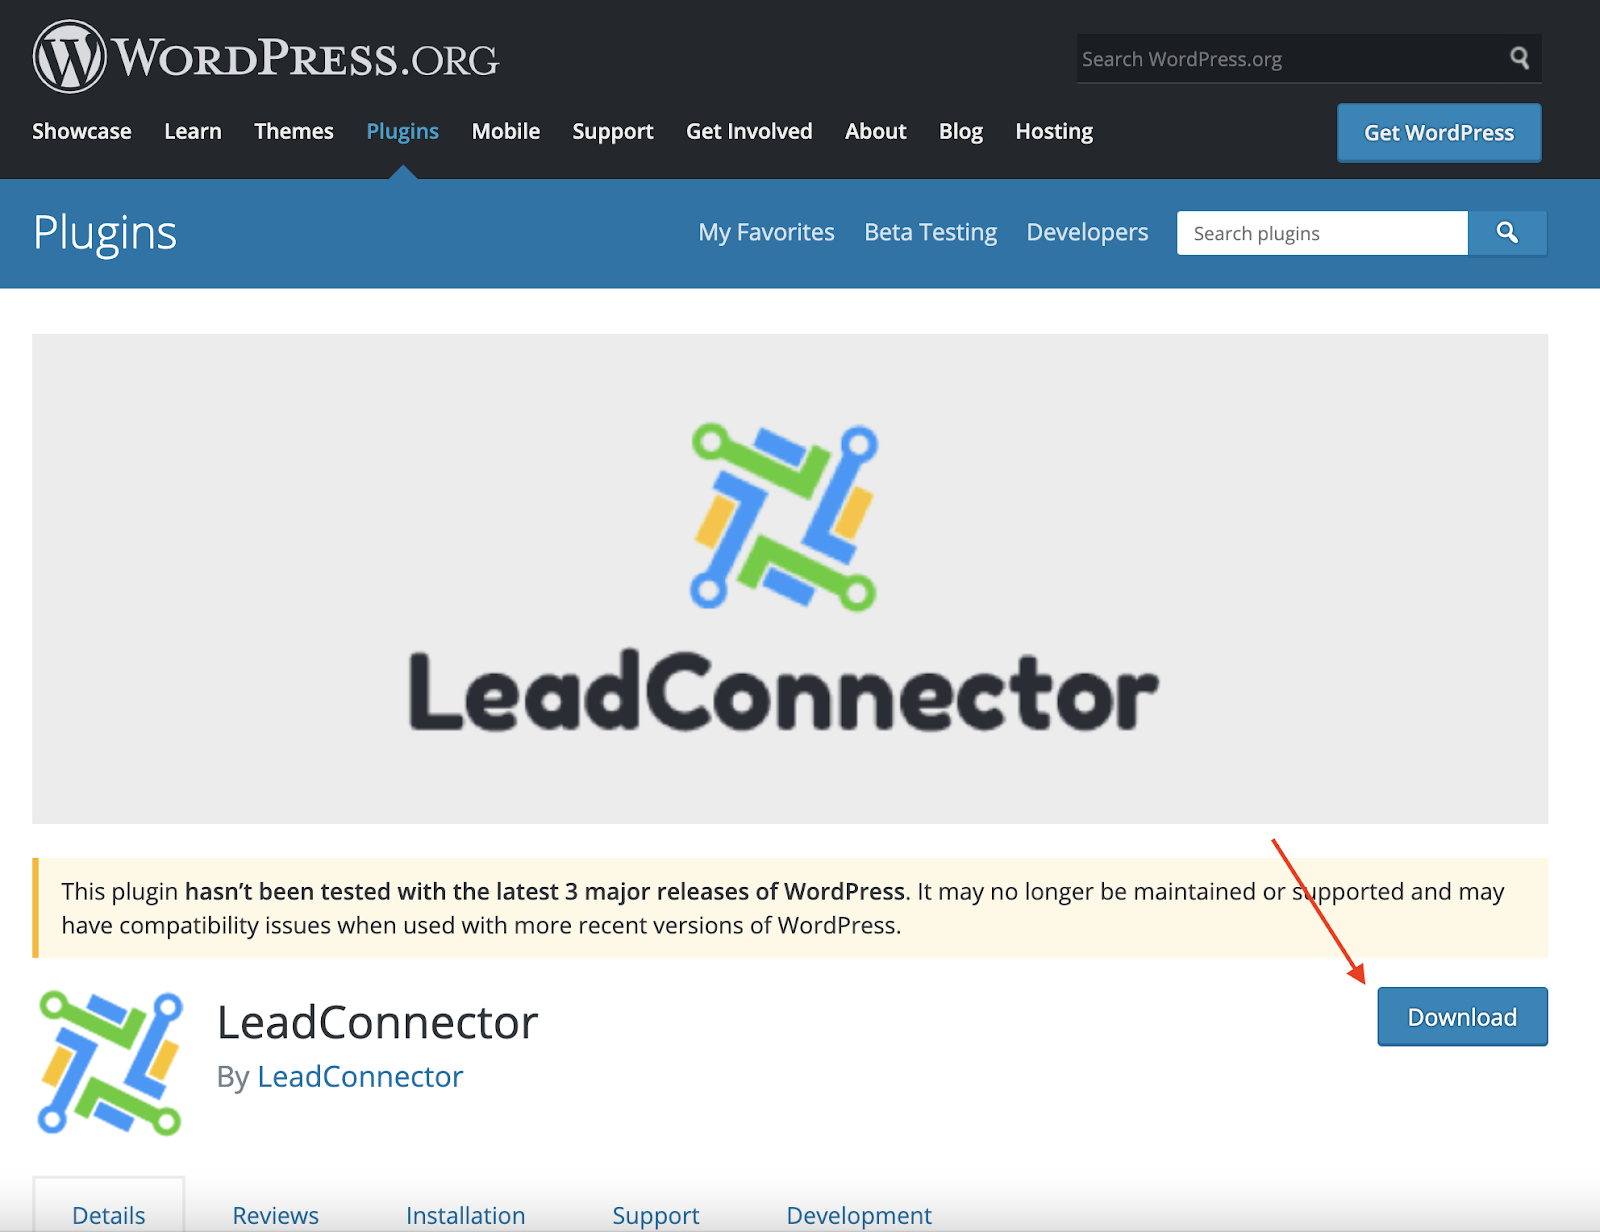
- You’ll be redirected to WordPress and want to download the “LeadConnector” plugin.
- Once installed, you can access LeadConnector from your WordPress dashboard menu.
- You’ll need to add your API key from NicheFit.
- Navigate to Settings > Business Info > Company Data and copy the API key.
- Paste it into the API key under your LeadConnector widget settings in your WordPress dashboard.

- Click “Pull and Save” to save the changes and add the widget to your WordPress site.
Step 3: Retrieve any Updates using the WordPress Plugin
- Within NicheFit, if you make any changes to your chat widget, you must pull them through to WordPress.
- In your WordPress dashboard, navigate to the LeadConnector tab and click “Pull Any Updates” to retrieve updates from NicheFit.
NOTE: If you already have the WordPress plugin installed, you may need to uninstall and reinstall the plugin for the most updated version. Here’s how to remove and reinstall the plugin:
- Navigate to the WordPress Dashboard > Plugins
- Under “Active”, deactivate LeadConnector
- Go to the “Inactive” tab and click Delete to remove LeadConnector.
- Then, follow the steps above to reinstall it.
