Workflow Action: Send SMS
In this article, you will learn how to send clients SMS messages and different add-on actions that can be implemented.
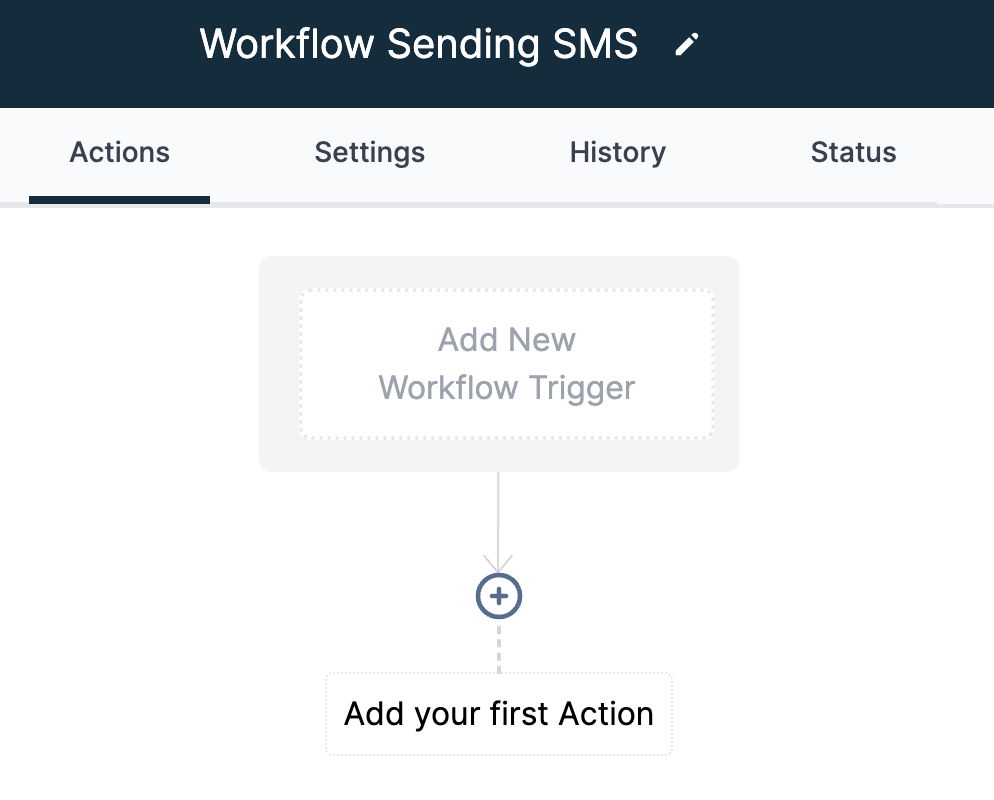
- Select the “Add your first Action” button.
-
- On the right side, a list of options will appear. Under External Communications, Select “Send SMS”

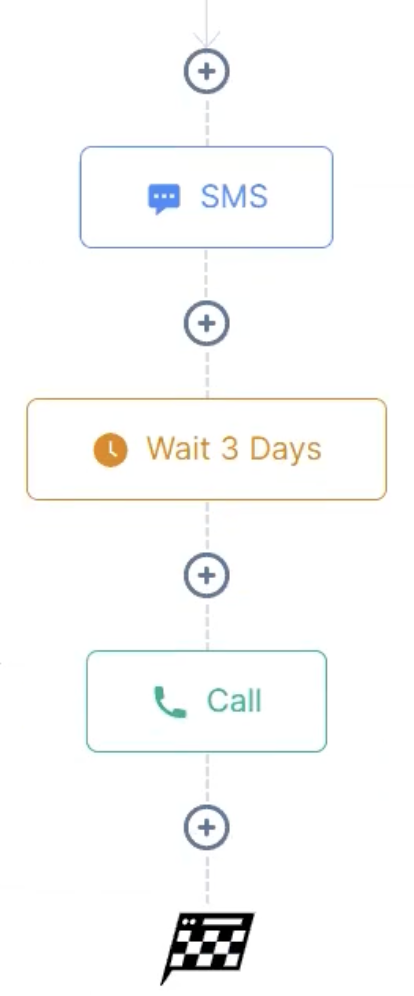
- For Example: Sending an SMS to confirm the client has booked an appointment (Type a custom message that you want the clients to receive or choose from a template)
-
- Seen Below

- Add attachments if desired or URLs for a file by scrolling down

- Select the “Save Action” button to continue moving forward

- Adding a Wait
-
- This is a time delay, meaning how long you want to wait before the next step starts (goes in between steps to work)

- But since it's an appointment workflow, we typically will change the time delay option to “Event / Appointment Time.”
-
- This will look at the booked appointment time and create a waiting period.

- For appointment schedules to workflows, we use this type of wait step. Now you can select before the appointment or after the appointment.
-
- You can choose any of the custom amounts of months, days, hours, and minutes (Seen Below)

In this example: We selected three days - Make sure you fill out the type/amount you’re waiting for in the “Action Name” option.
-
- This helps keep the workflow organized and easy to understand
- Select “Save Action”
- You now have created a wait step that will take place before the next step!
- For example: If you wanted to send the client another reminder after the “Wait” - in this case (3 days) - Repeat the #1 steps listed at the top of the document