You’ll likely want to take advantage of the Conversions API if you're running Facebook ads. When running ads, you probably want to calculate the conversion rate, know the cost per lead, cost per sale, etc. Traditionally these metrics have relied on Facebook Pixel. Still, with the iOS14 update from Apple, contacts have to opt into being tracked (and many don’t do so), which can result in inaccurate numbers.
By utilizing the Facebook conversions API Triggers and Workflow, you can send conversation data to Facebook without the need to cookie contacts. This allows you to have better reporting data.
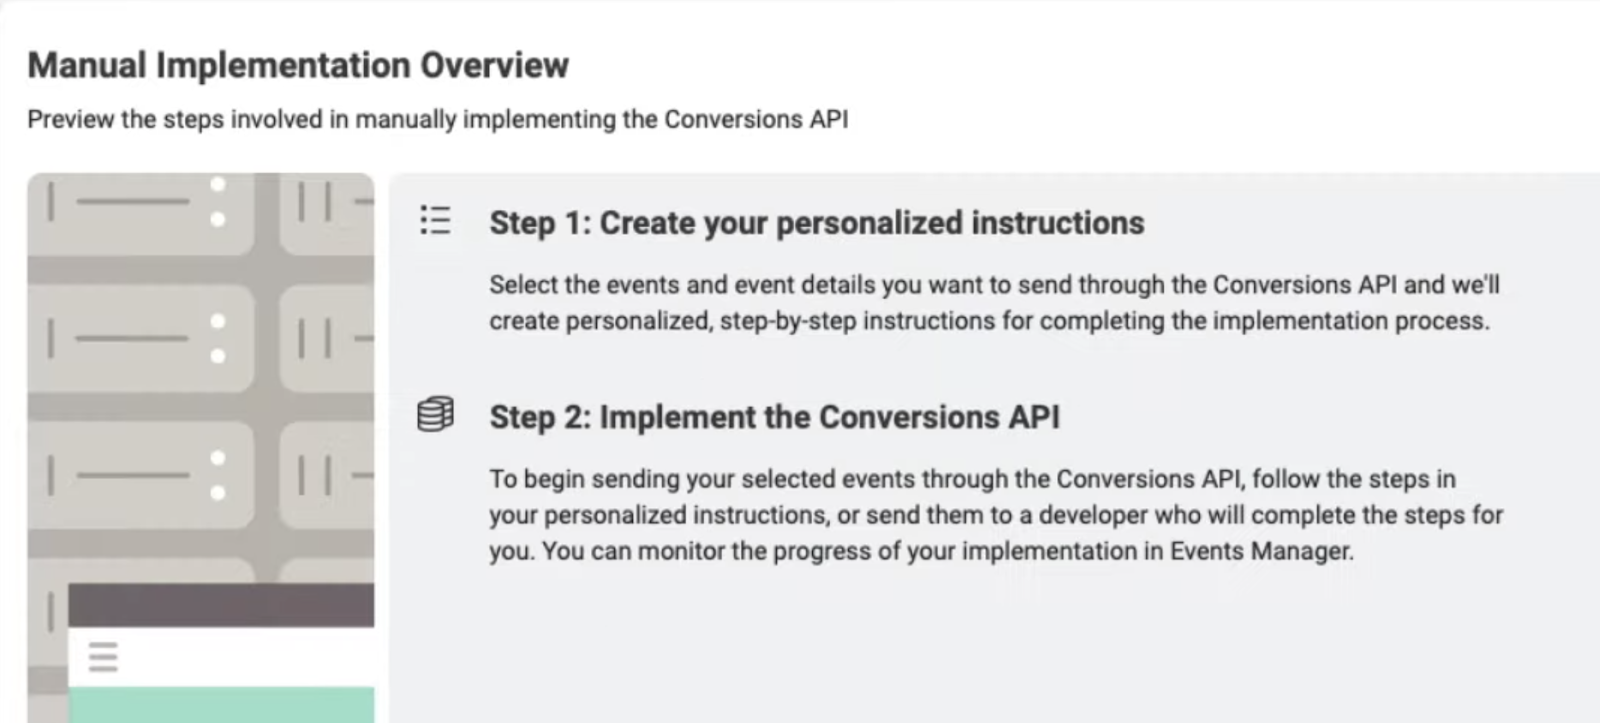
Step 1: Create a Pixel
- Scroll down to Conversions API
- Click “Get Started”
- Follow the steps in the next window that pops up to continue
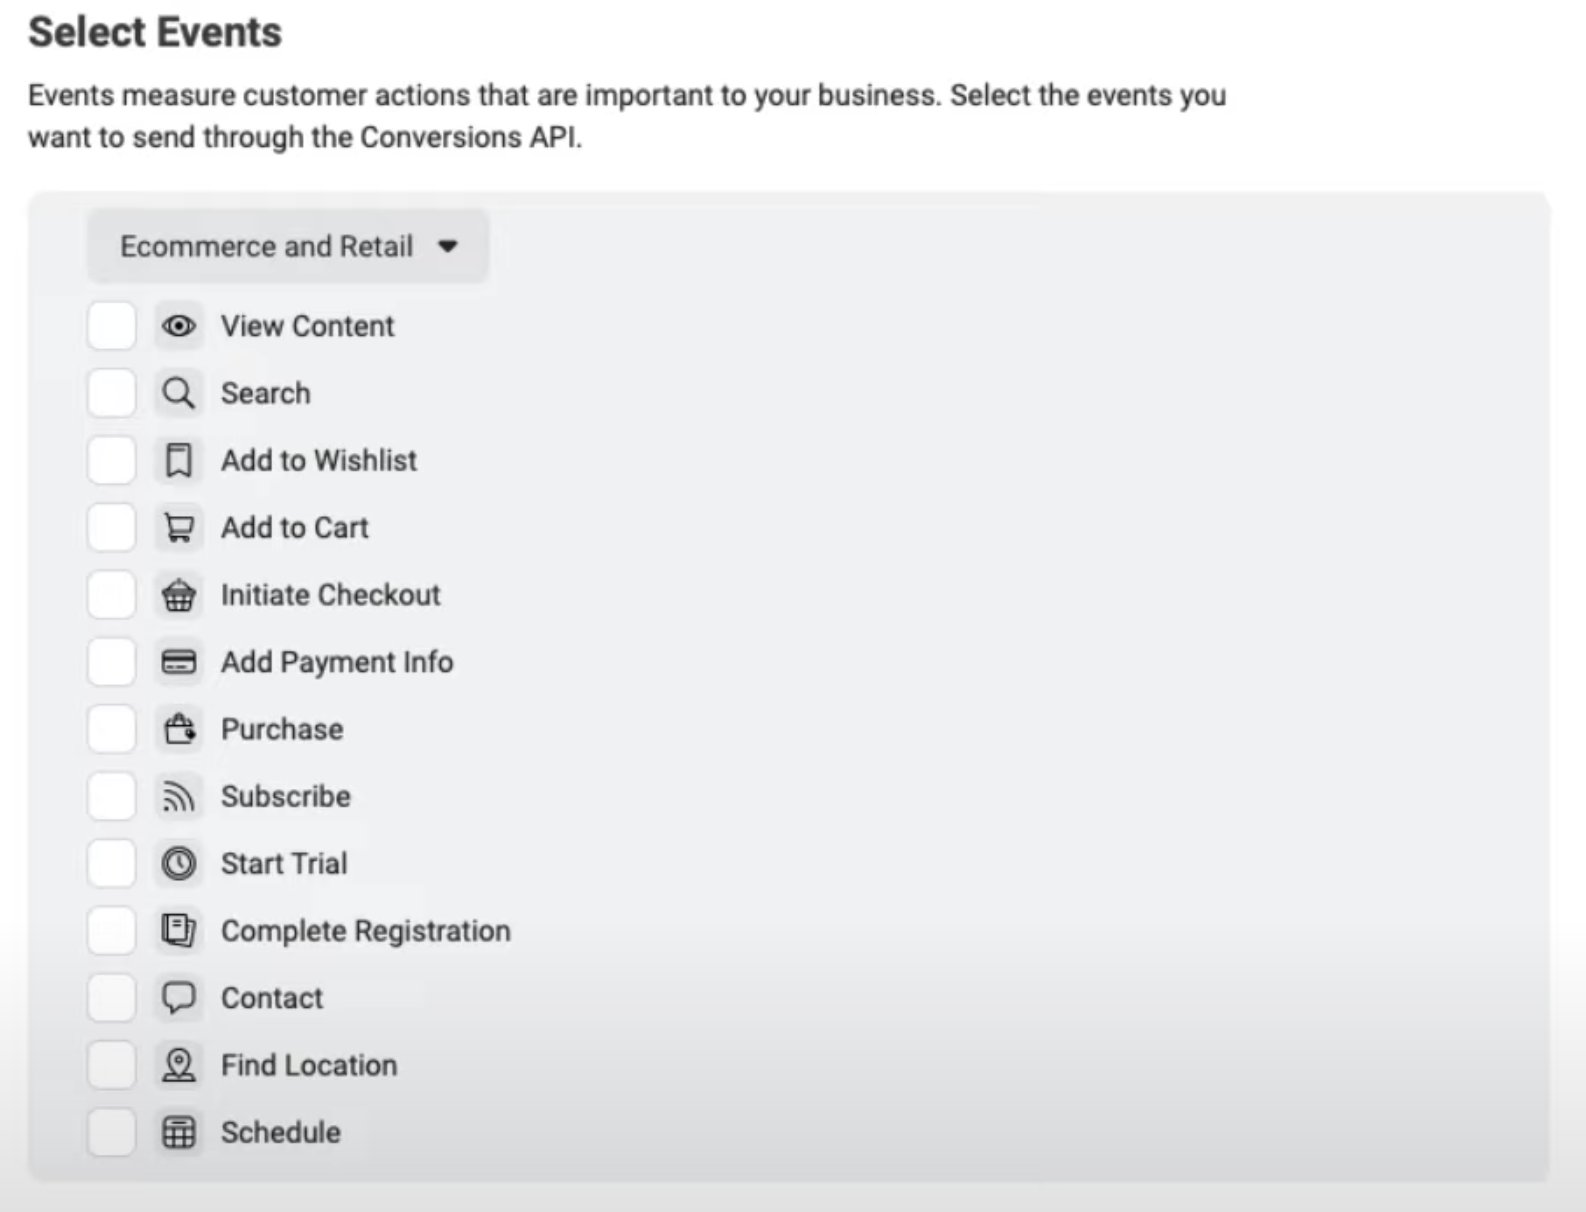
- Select the most relevant industry for your customers from the dropdown and check the boxes you want to send through the API.
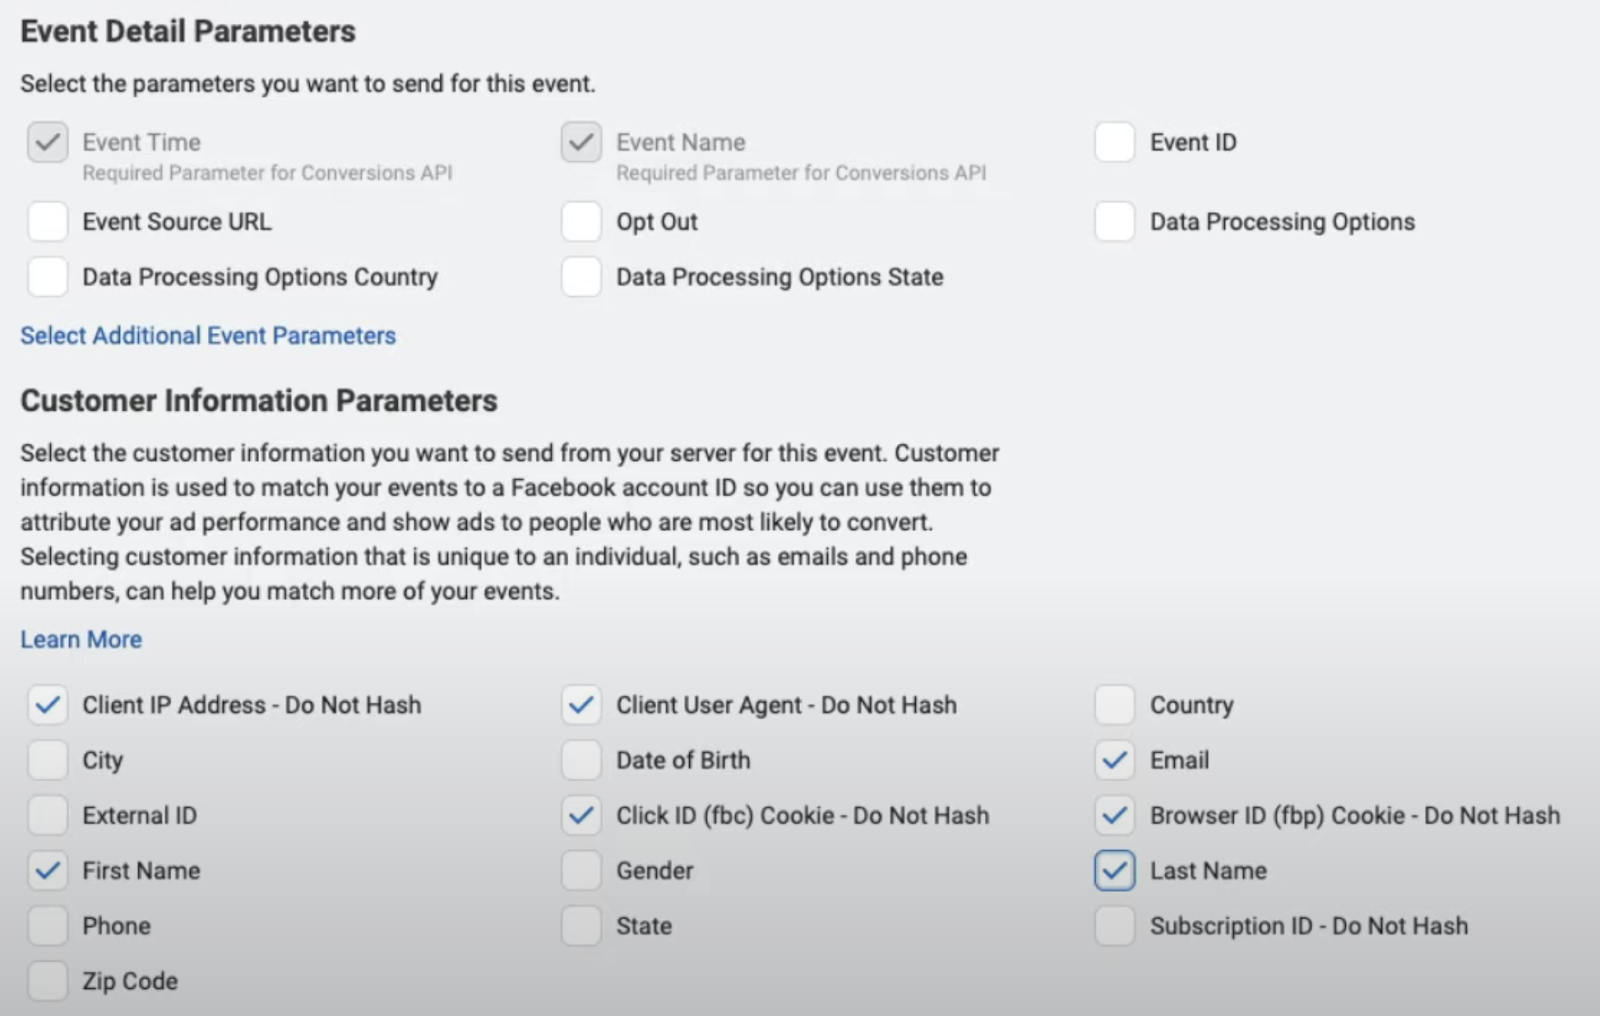
- Under Event Detail Parameters, check the box for Event Source URL
- Under Customer Parameters - select the data we can send back from NicheFit.
- Client IP address - do not hash (which will automatically check the Client user
- agent - do not hash)
- Email Address
- Click ID (fbc) cookie – do not hash
- Browser ID (fbp) cookie – do not hash
- First Name
- Last Name
- Repeat the Parameters selection for each event you selected (such as Find Location, Add to Cart, etc.)

Click Continue to review your setup.
After reviewing the information, click Confirm and Finish.
Step 2: Create the Workflow
- For this Conversions API to function properly, you must choose one of four triggers to start the workflow. The trigger can be Form Submitted, Survey Submitted, Two-Step Order, or Appointment trigger.
- Choose one of these triggers (or more than one) and start the workflow.
- Add an action to the workflow. Select Facebook- Conversion API
- If you don’t have your Facebook integrated yet, you’ll be prompted to complete the integration at this step. (We have other tutorials that cover Facebook integration.)
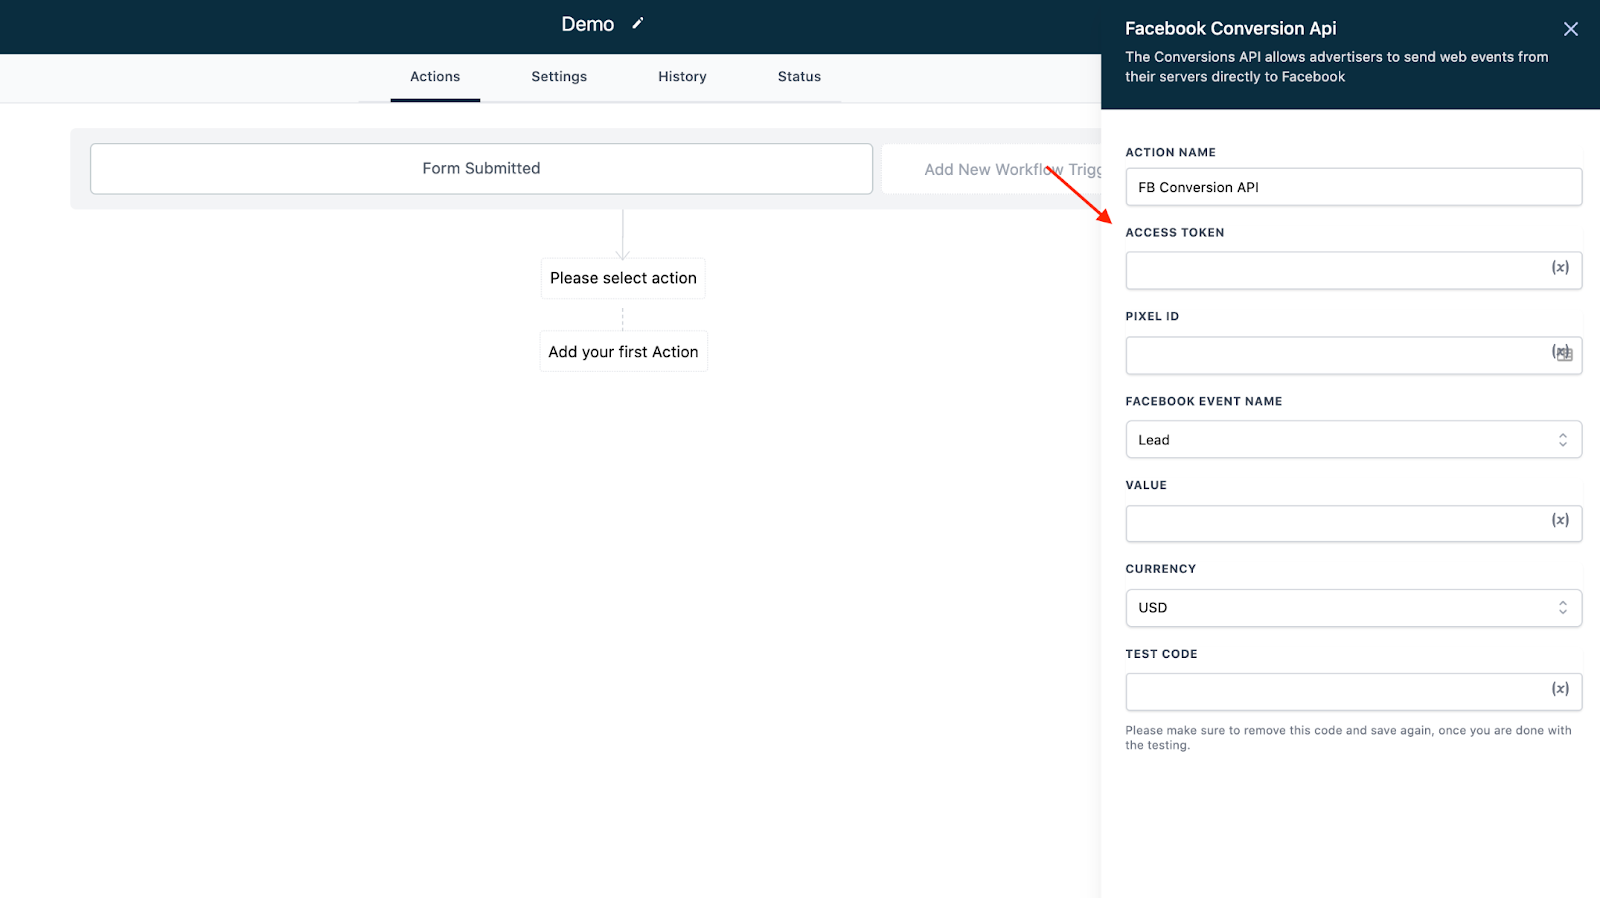
- Fill out the appropriate fields for the action.
- Navigate back to the Pixel, and in the Pixel settings under Conversions API, click the “Generate Access Token” hyperlink.
- Copy this and paste it into the workflow.
- Copy the Pixel ID to paste into the workflow in the Pixel settings.
- NOTE: Custom values work in the Access Token and Pixel ID fields.
- Choose the event name, value, and currency.
- NOTE: If you wish to run a test, copy the Facebook Pixel Test Code from Settings, paste it into the “Test Code” field, and then test the workflow. To run the test, the workflow must be triggered by an event (like a form submission). The “Test Workflow” button doesn’t allow testing FB conversions with API.
- If you don’t see the “Test Events” section in your Facebook Business Manager for the Pixel, check the “Domains in your Allow List” under the Settings section to ensure the domain is approved.
- Click “Save” to confirm the event is added to the Workflow.
- Switch the Workflow from Draft > Published mode in the top right.
- Click “Save” in the top right corner