WordPress has a plugin called LeadConnector, allowing you to use Funnels on WordPress sites. In the past, this was set up using subdomains. Now, it can be right on the path at the root domain(yourclientswebsite.com/something). This makes the URL clean and quicker. This article will review how to add a NicheFit funnel to WordPress.
Step 1: Add the Plugin
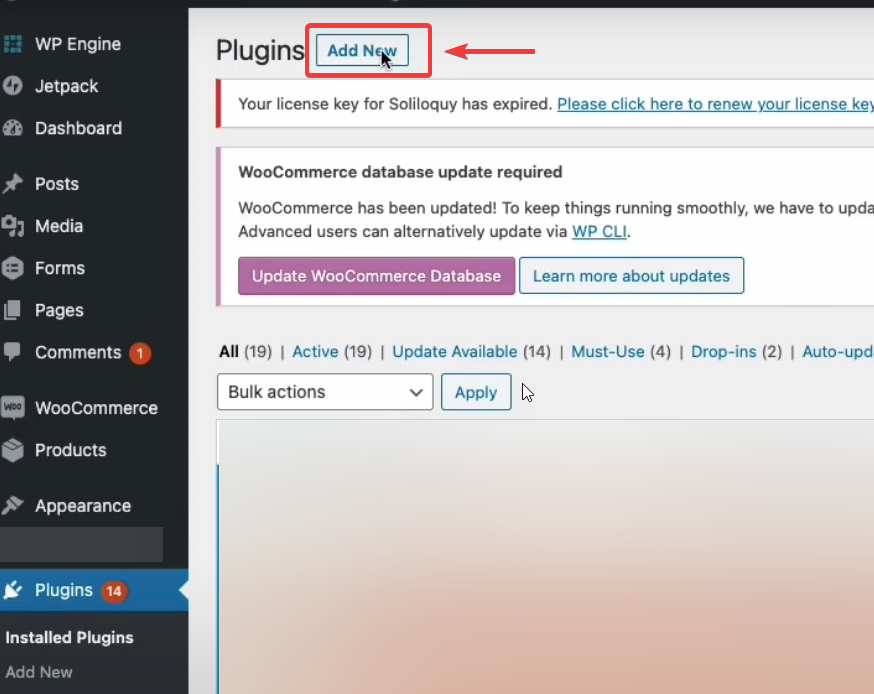
- Navigate to the Plugins tab and then click on the Add New button.
- Search for the LeadConnector application and click on Install Now.

- Click on Activate when it displays after installation.

Step 2: Copy and paste the API key from the system into WordPress.
- Navigate to the NicheFit Settings, go to the Business profile, and copy the API Key.

- Navigate back to the added Lead Connector tab.
- Paste the API key into the correct field in WordPress's LeadConnector tab and click save.

Step 3: Install the site on WordPress
- Click Add New

- Choose the Funnel and the step.
- The display method will be as Embed Full Page iFrame
- Enable tracking (If you have a tracking code in your Funnel)
- Add a slug.
- Save Page

- View the added Funnel!

Tracking Code Details
Tracking code can be viewed from the funnel builder when editing a funnel within Settings > Tracking Code

A funnel on WordPress will place the tracking code into the expected location, known as the website header.

Errors


If you receive this error message involving a funnel on a WordPress site, please view our article “Order Form Fingerprint is Missing Error.”